A virtual machine (VM) in Azure is a software-based computer you run on Microsoft’s cloud instead of on hardware you own. It has its own operating system and a dedicated allocation of CPU, memory, storage and network, and you connect to it over the internet like any other server. This makes Azure virtual machines a flexible choice for hosting applications, running websites, testing software, and handling data workloads, without buying or maintaining physical servers. Azure VMs are also a common destination when migrating on-premises servers to the cloud, as well as for new workloads built from scratch.
This guide walks you through how to create a virtual machine in Azure using the Azure portal, followed by best practices to keep your VMs secure, cost-efficient and easy to manage.
Steps to Create a Virtual Machine in Azure:
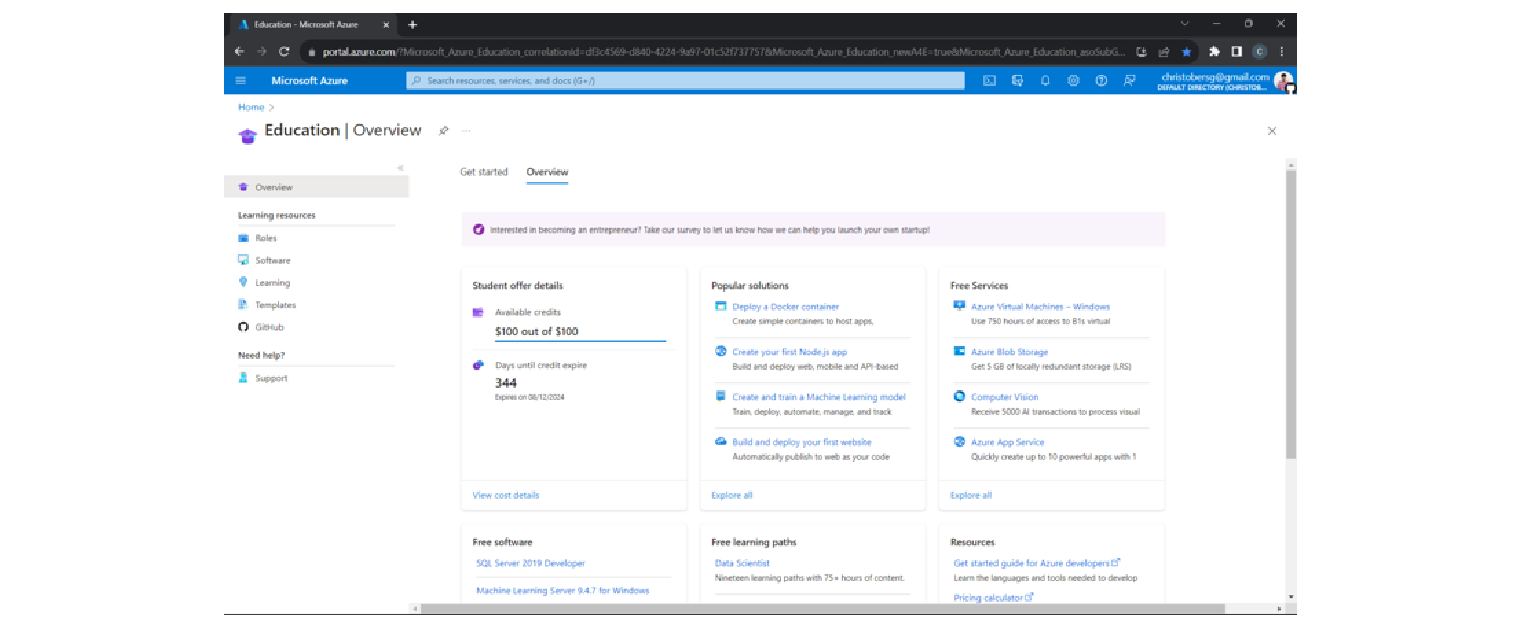
Sign Into Azure Portal:
Log in to your Azure account via the Azure Portal.
Create a Resource Group (Optional):
Create a resource group to keep your VM and its related resources organized in one place. It’s optional, but a best practice for managing your VMs.
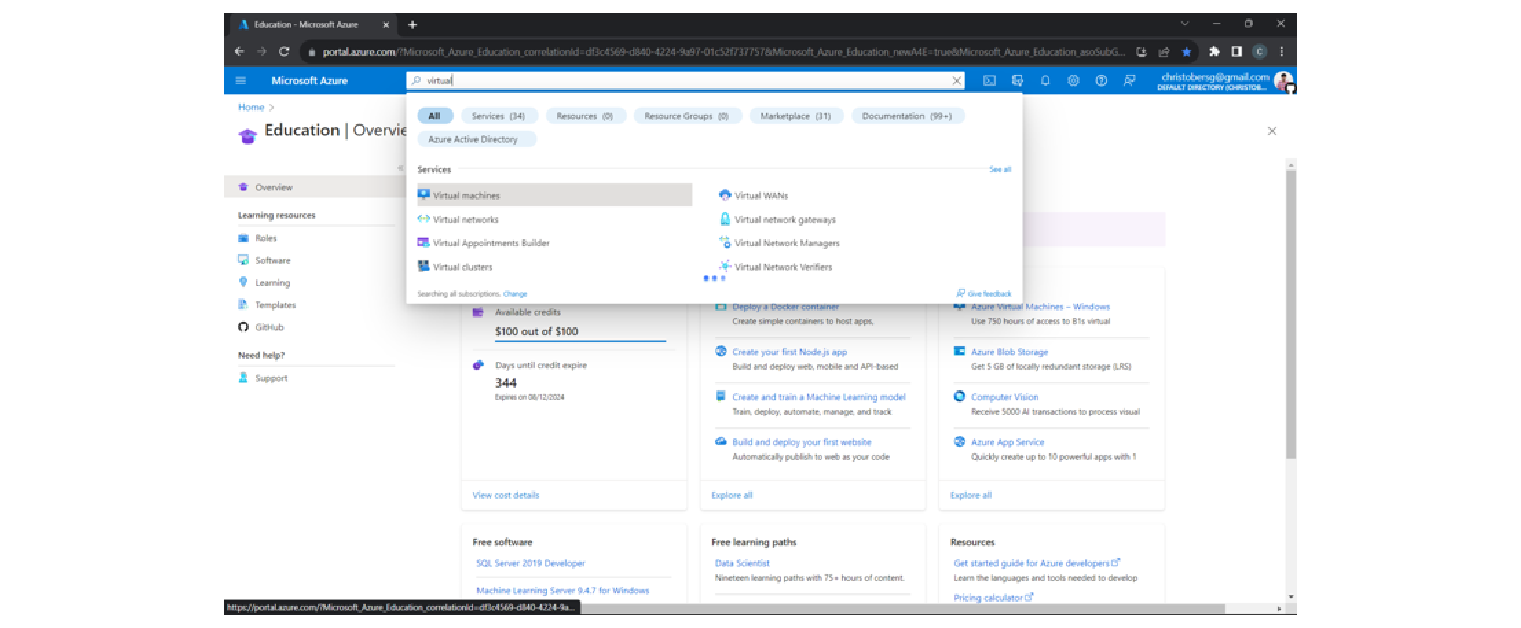
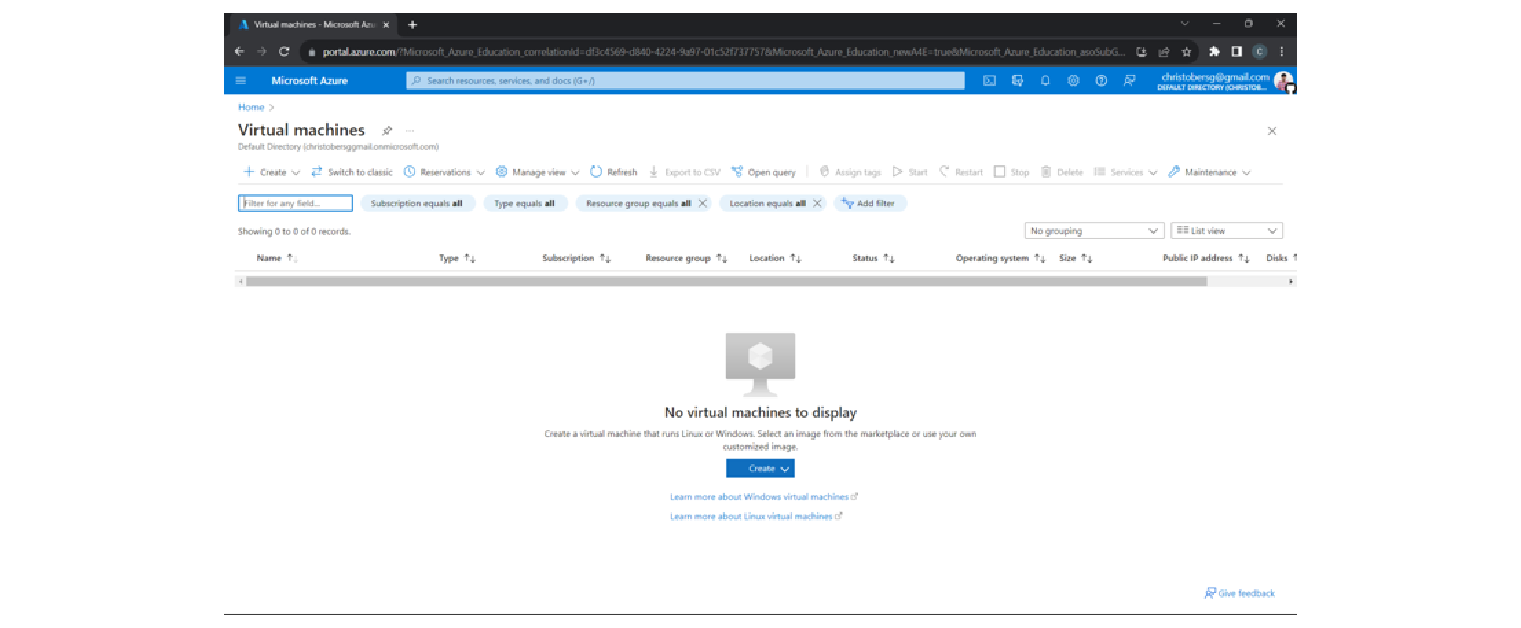
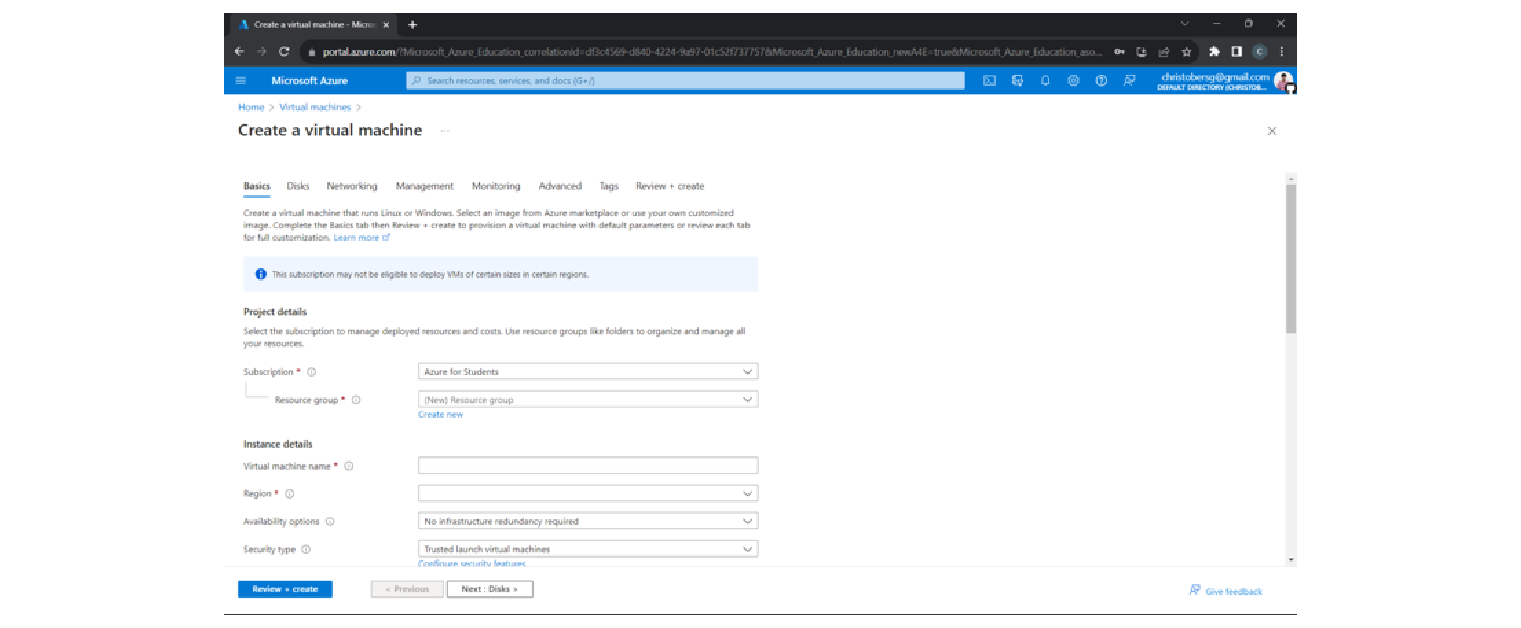
Configure VM Basics:
Set the subscription, resource group, VM name, region, image, size and authentication method.
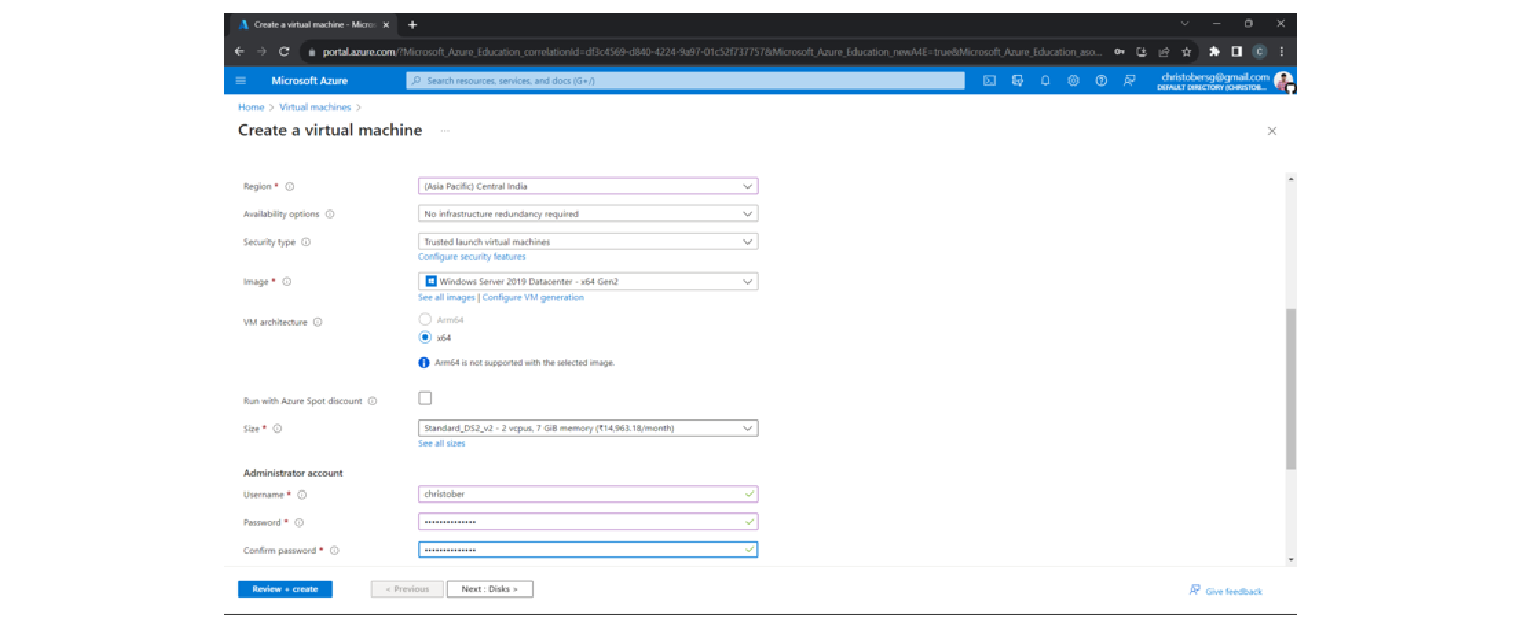
Configure Disks, Networking, and Management:
Customize the disk options (backed by Azure storage), Azure virtual network settings and management features to suit your project.
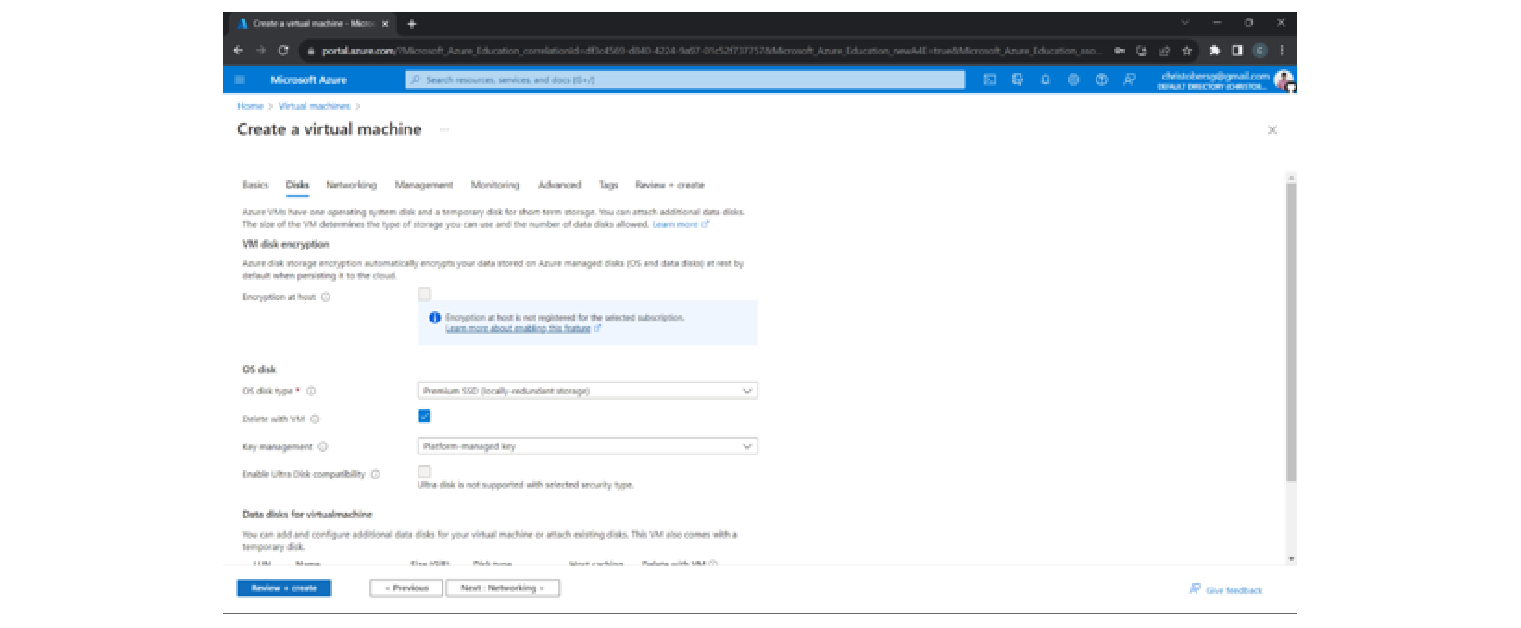
Review and Create:
Review your settings to ensure accuracy and then initiate the VM creation process.
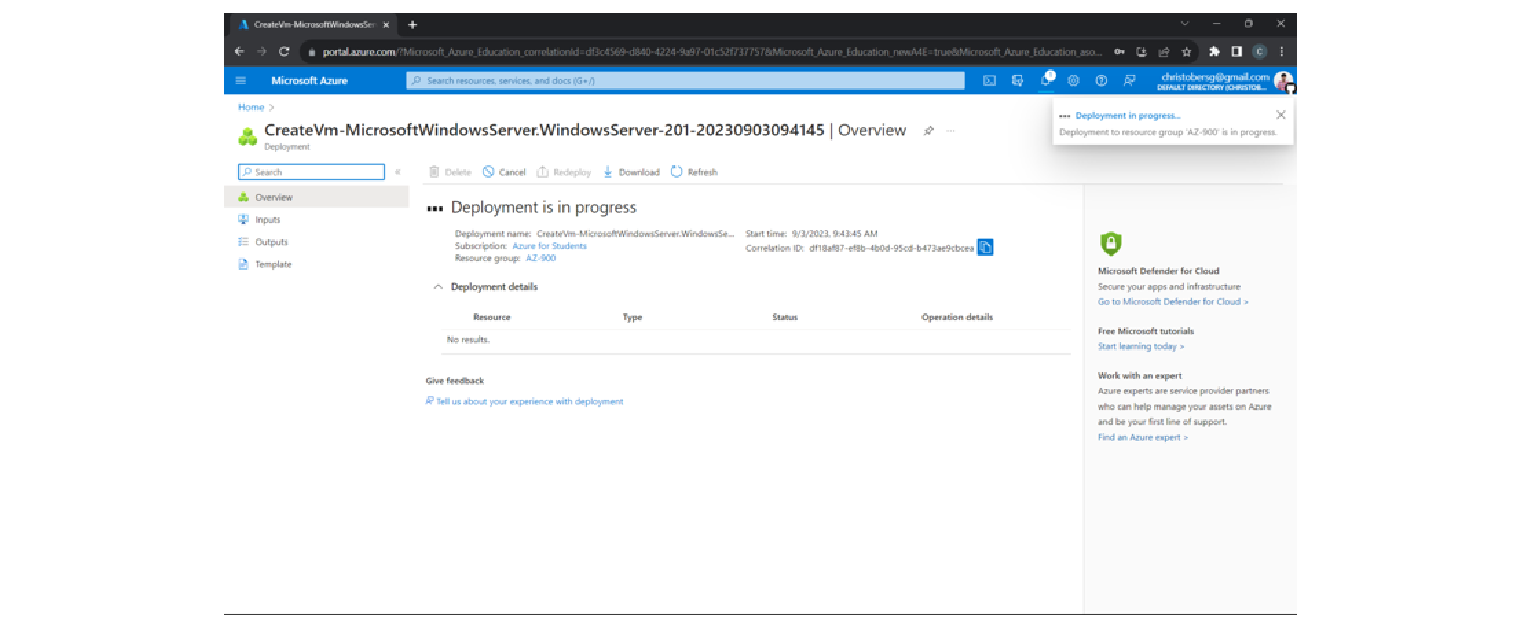
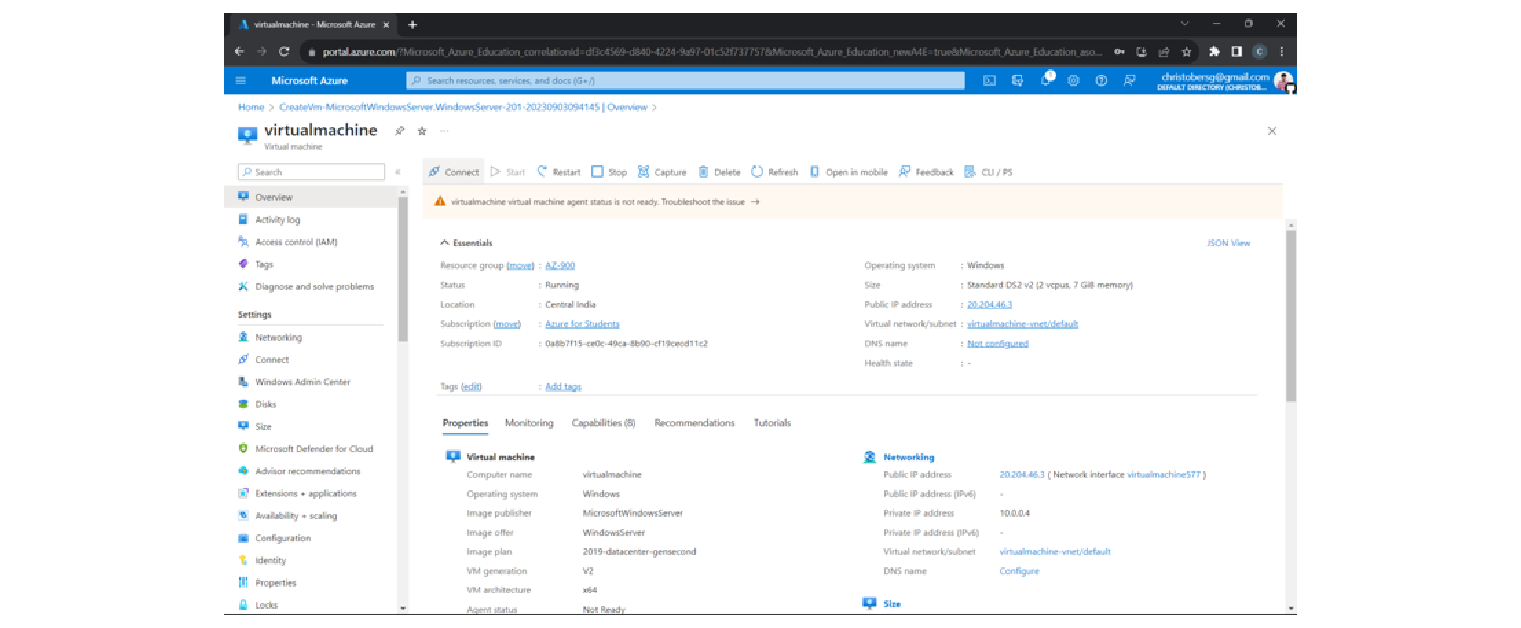
Validation and Deployment:
Azure will validate your configuration first and. If everything passes, select Create and Azure deploys the VM.
Monitoring and Notifications:
Set up monitoring and notifications to stay informed about your VM’s performance and status.
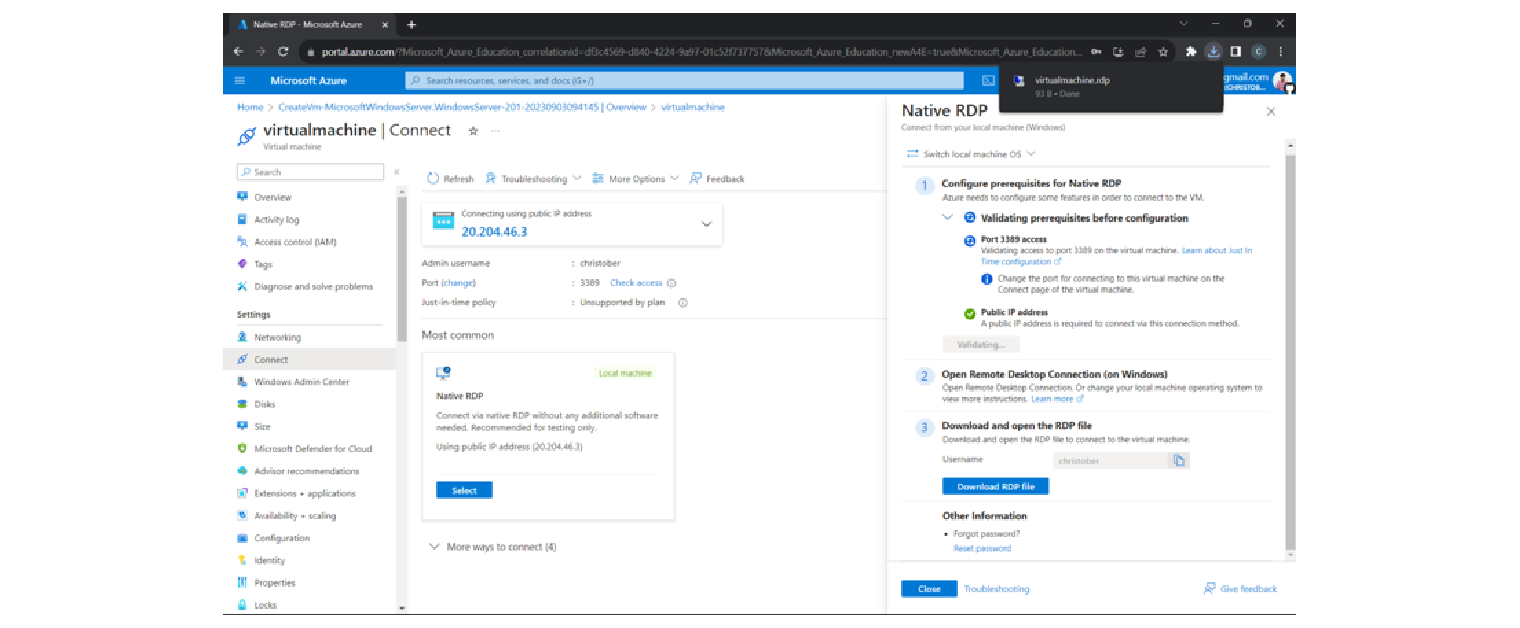
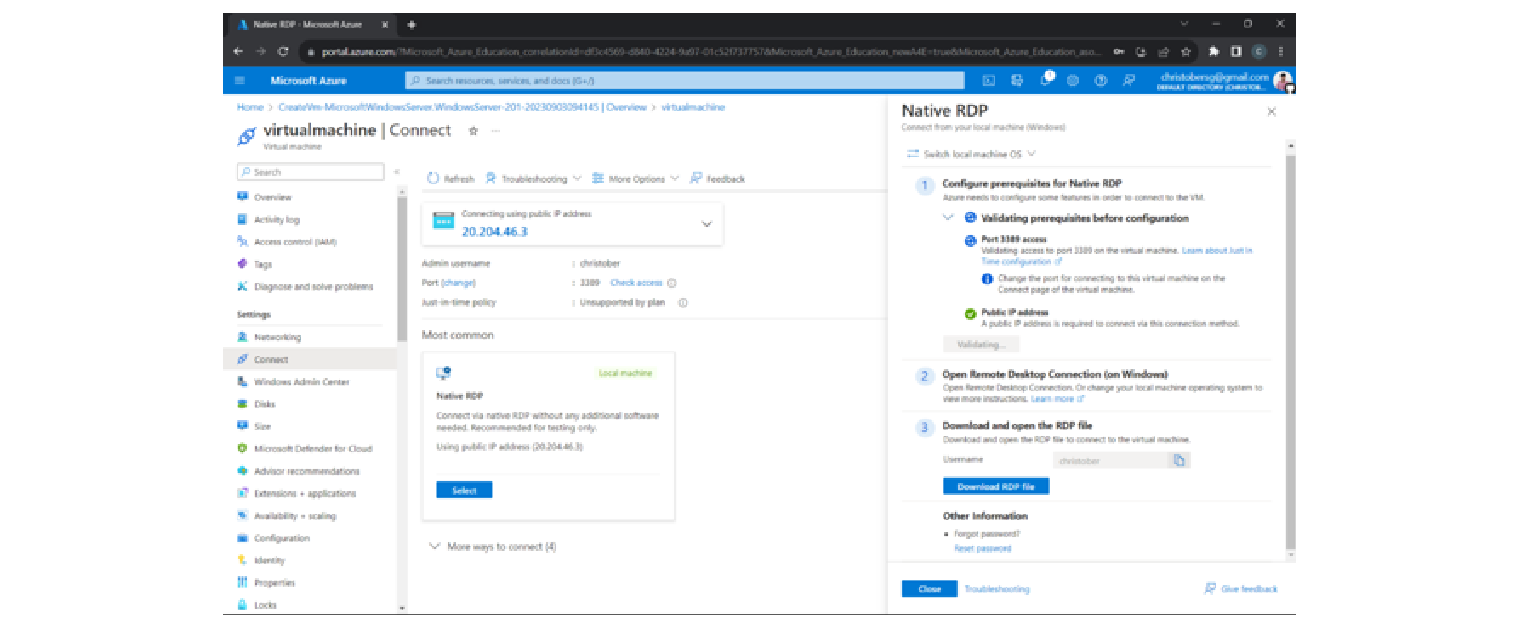
Access and Connect:
Connect to your VM using the method that matches its operating system:
- RDP (Remote Desktop Protocol) for Windows VMs
- SSH for Linux VMs
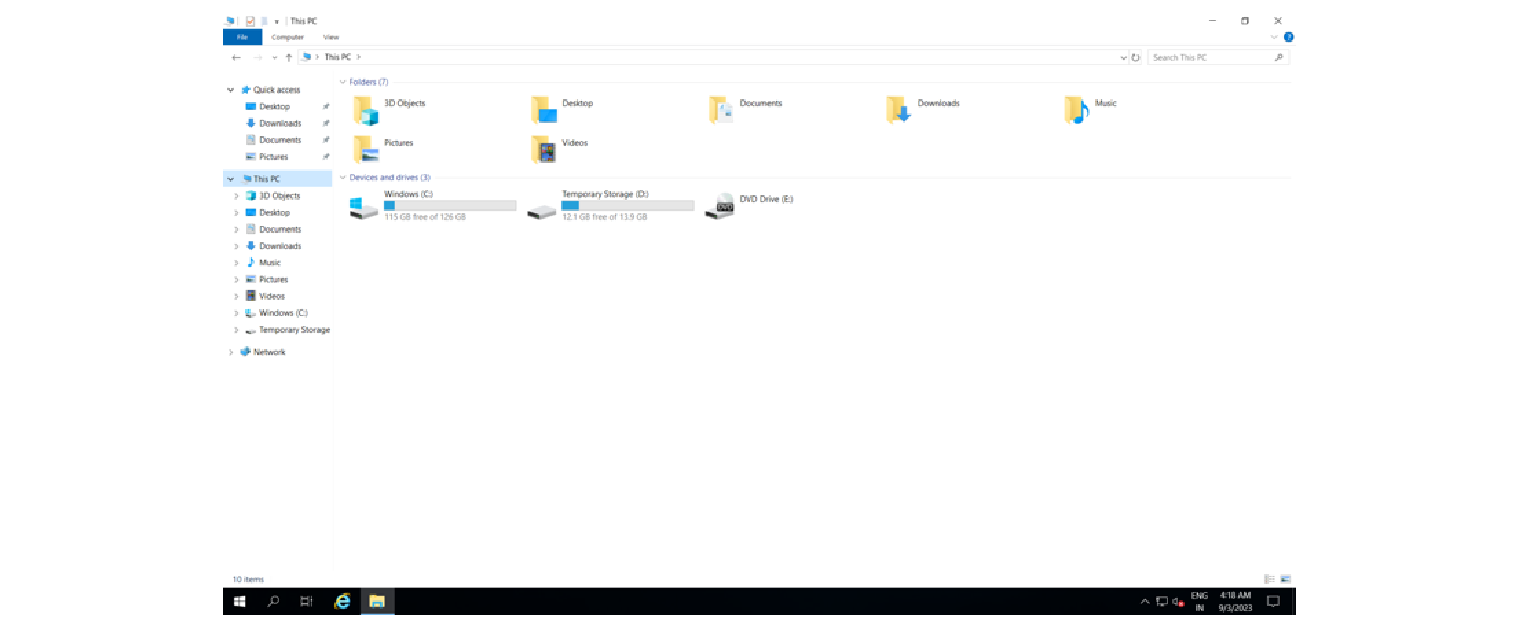
Once connected, you can start installing software and configuring the VM for your specific needs.

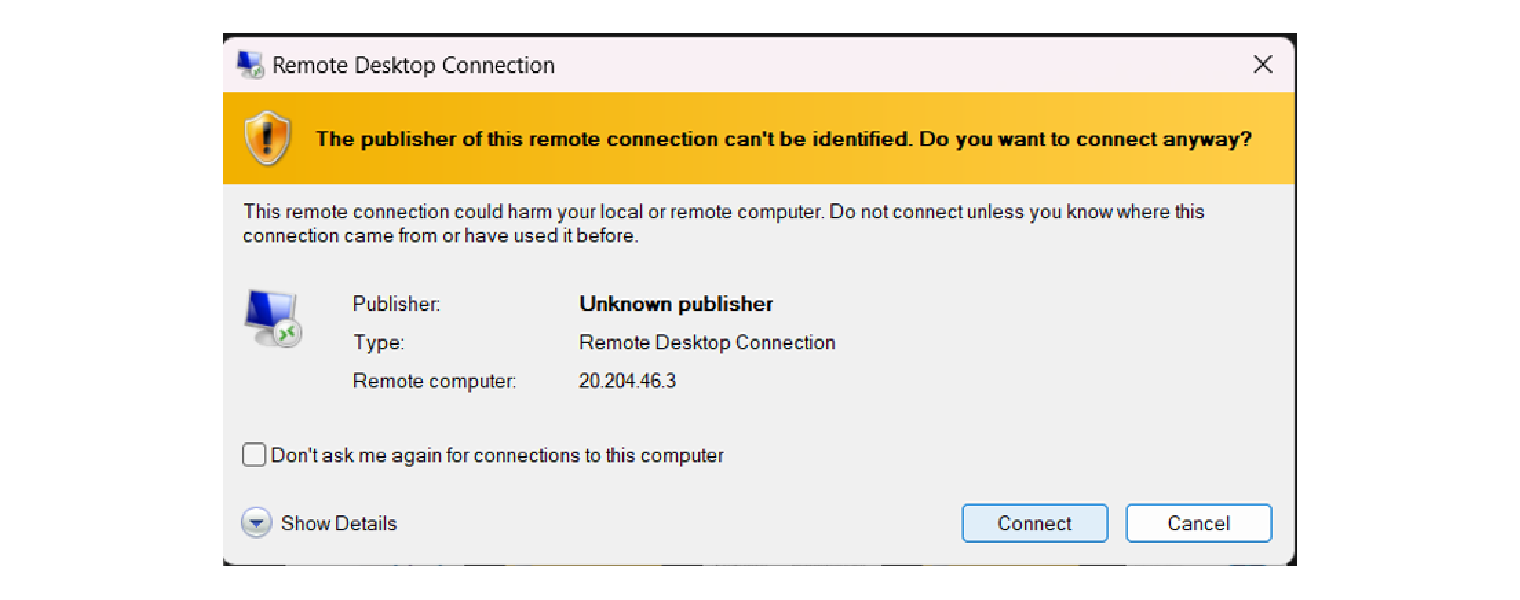
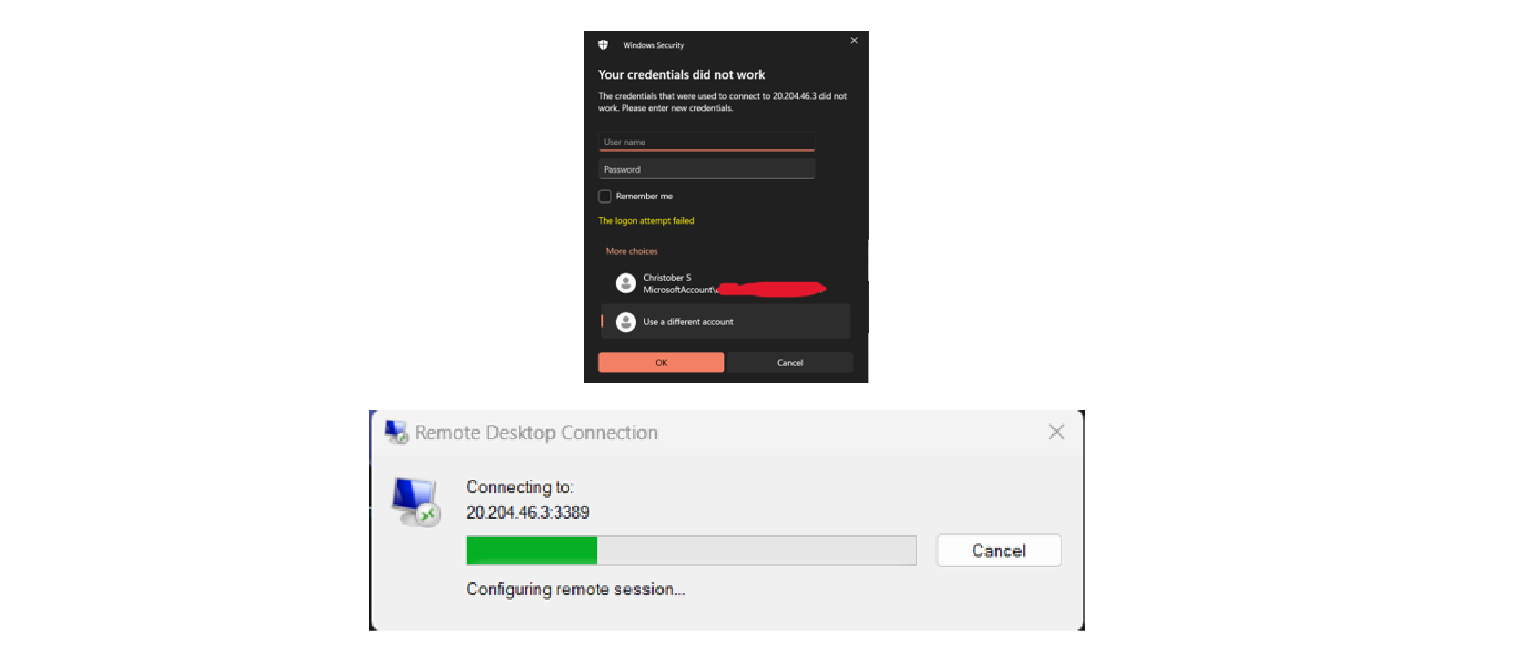
Virtual Machine view

Best Practices for Azure VM Management:
To make the most of your Azure VMs, consider implementing these best practices:
- Regular Backups: Create backups of your VMs to safeguard against data loss.
- Security Measures: Implement security best practices, including network security groups, firewalls, and regular updates.
- Auto-Scaling: Utilize Azure’s auto-scaling capabilities to handle fluctuating workloads efficiently.
- Cost Optimization: Monitor and optimize your VM usage to control costs effectively.
- Resource Tagging: Use resource tagging for improved resource organization and cost allocation.
Need More Than One Azure VM?
Let Infrassist design, deploy and migrate your Azure environment while your team stays focused on client work.
Conclusion:
Creating virtual machines in Azure opens up a world of possibilities for organizations seeking to leverage the cloud’s benefits. Whether you’re looking to run applications, host websites, or perform data analytics, Azure’s virtual machines offer the flexibility and scalability needed to support your initiatives. By following the steps outlined in this guide and adhering to best practices, you can harness the power of Azure VMs to drive your business forward in today’s digital age.