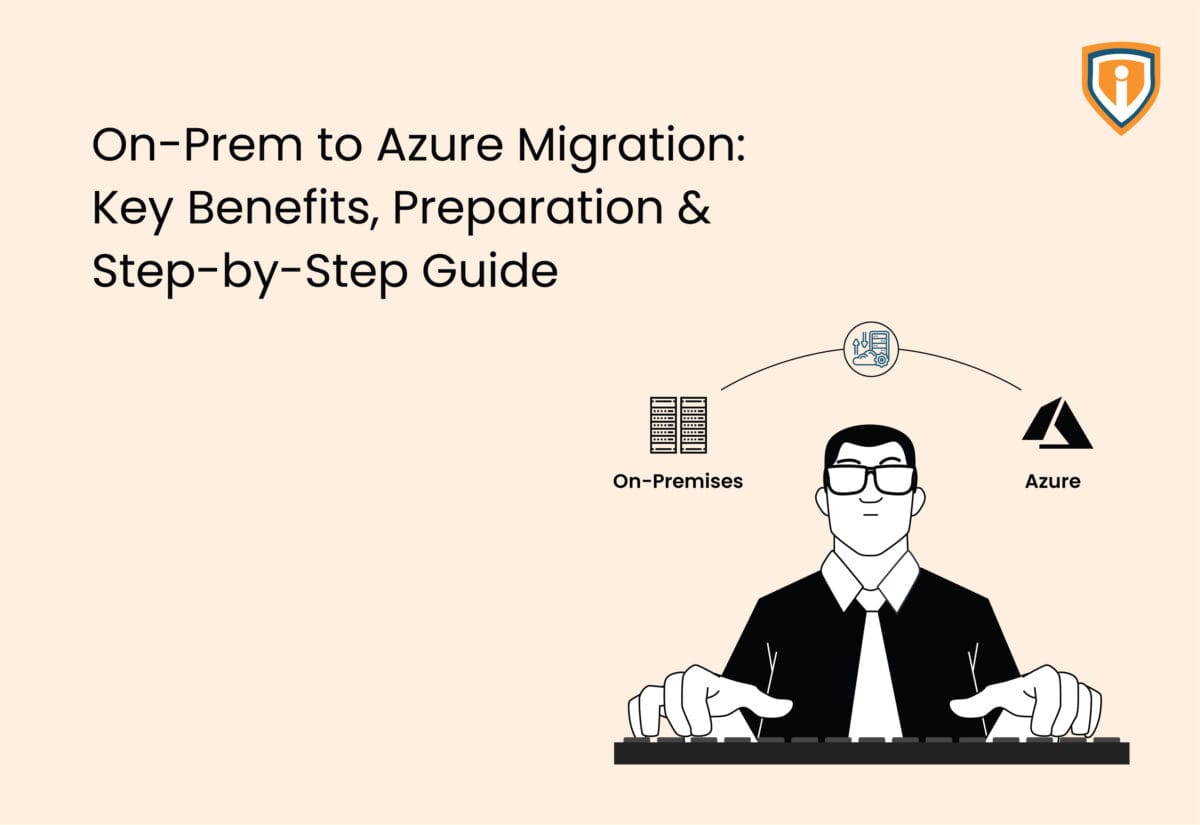
Moving your on-premises workloads to Microsoft Azure is far from a simple “lift and shift.” The technical steps are just the tip of the iceberg. There’s planning, testing, and yes, a fair bit of patience involved.
It’s not a good idea to dive straight into Azure cloud migration without understanding your existing setup: apps, databases, their connections — you risk hitting snags later. And those snags can slow you down, cost extra money, or worse, cause outages.
Azure offers a powerful, flexible environment; however, it requires a customized and organized approach. What works for a giant retailer might not suit a mid-size manufacturer, and hence your migration strategy should fit your enterprise’s needs.
So, before you press “go,” take stock. Key questions to ask.
- What are your goals?
- Cost savings?
- Scalability?
- Security?
Knowing these will help you make smarter choices, not just about the Azure migration services provider, but how to get there. Let’s first quickly glance through the advantages of on-prem to Azure migration.
Also, Read : What Is Azure Migrate Used for? – A Brief and Quick Guide
5 Benefits of Moving from On-Prem to Azure

Moving your infrastructure from on-prem to Azure is way more than just a technical swap. It’s a change that touches how your entire business manages IT and growth. It’s more than a cosmetic facelift — it’s a shift in mindset and resources. Let’s quickly glance through the advantages of on-prem to Azure cloud migration.
1. Cost-Efficiency that Shows on Bills
Keeping your own data center alive can quietly eat into your budget. It’s not just buying the servers — it’s the constant costs for power, cooling, maintenance, and a team to keep things humming. Azure turns that around by billing you only for what you really use. That means fewer surprises on your bill and the chance to put saved money back where it matters most.
So, there is a reason why nearly 38 percent of organizations globally use Microsoft Azure for their cloud services.
2. Scale Up and Down Easily
Estimating future capacity demands are not always straightforward. Add more than necessary and you’re wasting money; add too little and you risk slow systems or even outages.
With Azure, you can change your resource levels on the fly, scaling them to match demand. That way, spending stays in check and performance keeps pace with your business.
3. Security, Not Just an Extra Layer
Security today is non-negotiable. Azure comes with a hefty bundle of certifications and security tools built right in — from multi-factor authentication, to threat detection, and much more — covering everything from healthcare to finance.
That said, your team still has to steer the ship, setting policies and managing compliance. But having Azure’s robust security scaffolding makes your job a lot easier.
4. Business-Continuity with Built-in Disaster Recovery
Downtime is a serious business killer, and it’s not just about financial hit, which can be as mammoth as $540,000 per hour, according to industry data.
So how does Azure’s global network help?
If one data center has an issue, others can pick up the slack without you even noticing it. Thanks to Azure’s Disaster Recovery as a Service (DRaaS), which provides robust protection with minimal management effort, its disaster recovery systems help you bounce back quickly in case something goes awry. That kind of reliability is not just good tech, but essential for protecting your business’s reputation.
5. Microsoft Ecosystem at Your Fingertips
Companies already using Microsoft tools often find Azure easily blending with their day-to-day work. Services link together without friction, letting teams spend their energy on the actual project instead of wrestling with setup.
Beyond holding data, Azure gives the means to examine it in detail and see live results. This timely information helps businesses react quickly, adjust processes with precision, and base decisions on solid facts.
Also, Read More : Azure Migration Tool
On-Prem to Azure: Preparing for Migration
Moving to Azure starts long before you actually move anything. The smoothest projects usually come from teams that spend more time preparing than they think they need. Skipping those crucial preparations can risk extra costs and downtime that follow you into production, too.
1. Take Stock of What You’ve Got
Not just servers and apps you remember, but every database, API, storage bucket, virtual machine, and web app needs to be on paper.
In a manufacturing setup, that list might include old MES systems alongside a modern ERP. In ecommerce, it could be a tangle of payment gateways, custom plug-ins, and monolithic storefronts. If it runs today, it goes on the list.
Worlds needed a deployment approach for its AI platform that could handle complex enterprise setups while remaining fast and scalable. Achieving quick value and integrating smoothly with existing systems was essential, which made Microsoft Azure the natural fit.
With Azure’s highly scalable cloud infrastructure, Worlds can assess what enterprises already have — cameras, sensors, and IoT devices, and transform them into systems that process and act on data in real time without additional hardware purchases.
This approach supports real-time analysis while making optimum use of current infrastructure, whether on a factory floor or in a high-volume warehouse
As Dave Copps, co-founder and CEO of Worlds, explains:
“When it comes to physical AI, we’re seeing more companies investing in open AI platforms that can connect to any sensors and AI models and not be limited by narrow point solutions.”
While running the platform in-house worked in the early stages, expanding into customer environments called for an architecture that was more adaptable, secure, and enterprise-focused. Microsoft Azure became the backbone for this shift, giving Worlds the reliable, scalable infrastructure needed to roll out its platform quickly, satisfy enterprise requirements, and bring large-scale AI solutions to life.
2. Untangle the Connections
The next step is figuring out how those pieces interact with each other. Some apps lean on a shared database. Others still run on outdated authentication methods. Legacy protocols, hard-coded integrations — these can all cause trouble in Azure if they aren’t spotted early. Better to know now than mid-migration.
3. Pick a Strategy That Fits Each Workload
Not every workload needs the same treatment. Some can be rehosted as-is. Others may benefit from a light refactor to take advantage of Azure’s platform tools. A few will make more sense to completely re-architect for scale or new features.
And sometimes, the right answer is to leave part of the environment on-prem for now, pretty common in regulated sectors or when latency is an issue. Azure handles hybrid setups well enough that you don’t need to rush.
Healthcare, finance, government, and retail face rigorous data compliance rules. HIPAA governs healthcare, PCI DSS and SOX govern finance, and FedRAMP or ITAR govern government entities.
Azure offers over 90 compliance certifications and 35 industry-specific certifications, but your organization holds responsibility for policy enforcement in migration.
4. Use the Tools Built for the Job
Microsoft’s migration tools aren’t just nice extras — they save ample time and reduce risk:
- Azure Migrate pulls together assessment, dependency mapping, and planning.
- App Service Migration Assistant works well for moving .NET web apps without heavy manual legwork.
- Azure Site Recovery can replicate virtual machines and handle failover with negligible downtime.
- Azure Database Migration Service moves SQL Server, MySQL, or PostgreSQL databases, with options for either offline moves or near-zero-downtime cutovers.
5-Step Azure Cloud Migration Execution Framework
Once the groundwork is in place and your Azure environment is ready, the actual on-prem to Azure cloud migration begins. This is where the plan you’ve been building for weeks gets translated into action.
It’s not just a “hit migrate and wait” scenario — cloud moves have moving parts, dependency chains, and more than a few surprises. The key is to break it down into clear, traceable phases.
1. Data Capture and Staging
The migration begins by moving data from its current location into a setup that Azure can work with. For many workloads, this means placing the data temporarily. It could be an Azure storage account, on a staging server, or using a device like Azure Data Box for bulky offline transfers. This step helps keep things organized and ready for the next phase.
What next?
At this point, network speed is a big factor. Teams often underestimate transfer times, especially if they’re on a shared corporate network. If your initial dry run takes two days instead of six hours, it’s better to learn that now.
Tip from experience: Always tag the staged data with metadata mapping back to its source. When you’re juggling multiple datasets, this prevents the “orphaned folder” problem that only shows up during testing.
2. Incremental Replication
Once the bulk transfer is complete, you don’t just shut down the old system and turn on the new one.
Most organizations keep their source systems live until go-live day, which means there will be new transactions, file updates, or database changes to sync.
Azure Migrate and Database Migration Service (DMS) both allow incremental replication, pushing only the changes since the last copy. This keeps the delta small and the final switchover fast.
Watch out for: Time zone mismatches in logging. If you’re moving systems across regions, your replication logs can look off by hours unless you normalize timestamps.
3. Validation and Test Runs
Before any cutover, you need to ensure that the new environment behaves exactly as expected.
This involves spinning up workloads in Azure, running application-level tests, checking integrations, and — most importantly — letting the business users have a go. They’re the ones who notice the small quirks, like a reporting tool pulling data from the wrong field.
Don’t skip the rollback drill. Even if you never use it, knowing exactly how to revert builds confidence.
4. Final Cutover
This is the moment the business notices the migration. It’s the coordinated shutdown of the old system and the activation of the Azure environment.
For many teams, this happens over a weekend or an overnight window to minimize disruption. The smaller your data delta, the faster this goes.
Pro tip: Keep both environments running in read-only mode for at least a short overlap. It’s a safety net for any missing records or late-breaking transactions.
5. Post-Migration Stabilization
Once in Azure, there’s a bedding-in period where systems, integrations, and performance baselines are monitored closely. This is when you’ll see if your network configuration or scaling assumptions hold up under real user load.
Minor tweaks here prevent bigger problems down the line — think firewall adjustments, scaling rules, or fine-tuning database throughput.
Picking the Right Tools for Your On-Prem to Azure Move
Mistake to Avoid: Picking tools because they’re familiar or “in the brochure” instead of matching them to the migration’s real constraints.
Core Azure Options
- Azure Migrate: Maps workloads, dependencies, and hidden infrastructure gaps. Skipping it often leads to mid-project surprises.
- Azure Database Migration Service (DMS): Choose offline or minimal-downtime mode based on business tolerance for interruption.
- Azure Site Recovery (ASR): Ideal for live VM replication into Azure without long outages, even though it’s sold as a disaster recovery tool.
- Azure Data Box: For multi-terabyte moves where bandwidth would drag the project for weeks.
When Third-Party Tools Make Sense
- Regulatory workloads needing extra compliance layers.
- Hybrid footprints where orchestration tools like Zerto or Carbonite save time and reduce risk.
Rule of Thumb: Fewer tools mean fewer moving parts — and fewer points of failure.
Conclusion
Successful migration from on-prem to Azure depends on crystal clear planning and methodical execution. Understanding your current setup, choosing the right tools, and testing each step helps avoid costly downtime. Azure’s flexibility and security offer great benefits, but only if the migration is handled carefully. A steady, well-planned approach ensures your move to the cloud delivers real value without any unpleasant surprises in store for you.