Picture this: someone in your office needs to send a signed contract to a client. They walk to the printer, scan it, and then walk back to their desk, save the file, open their email, and attach it.
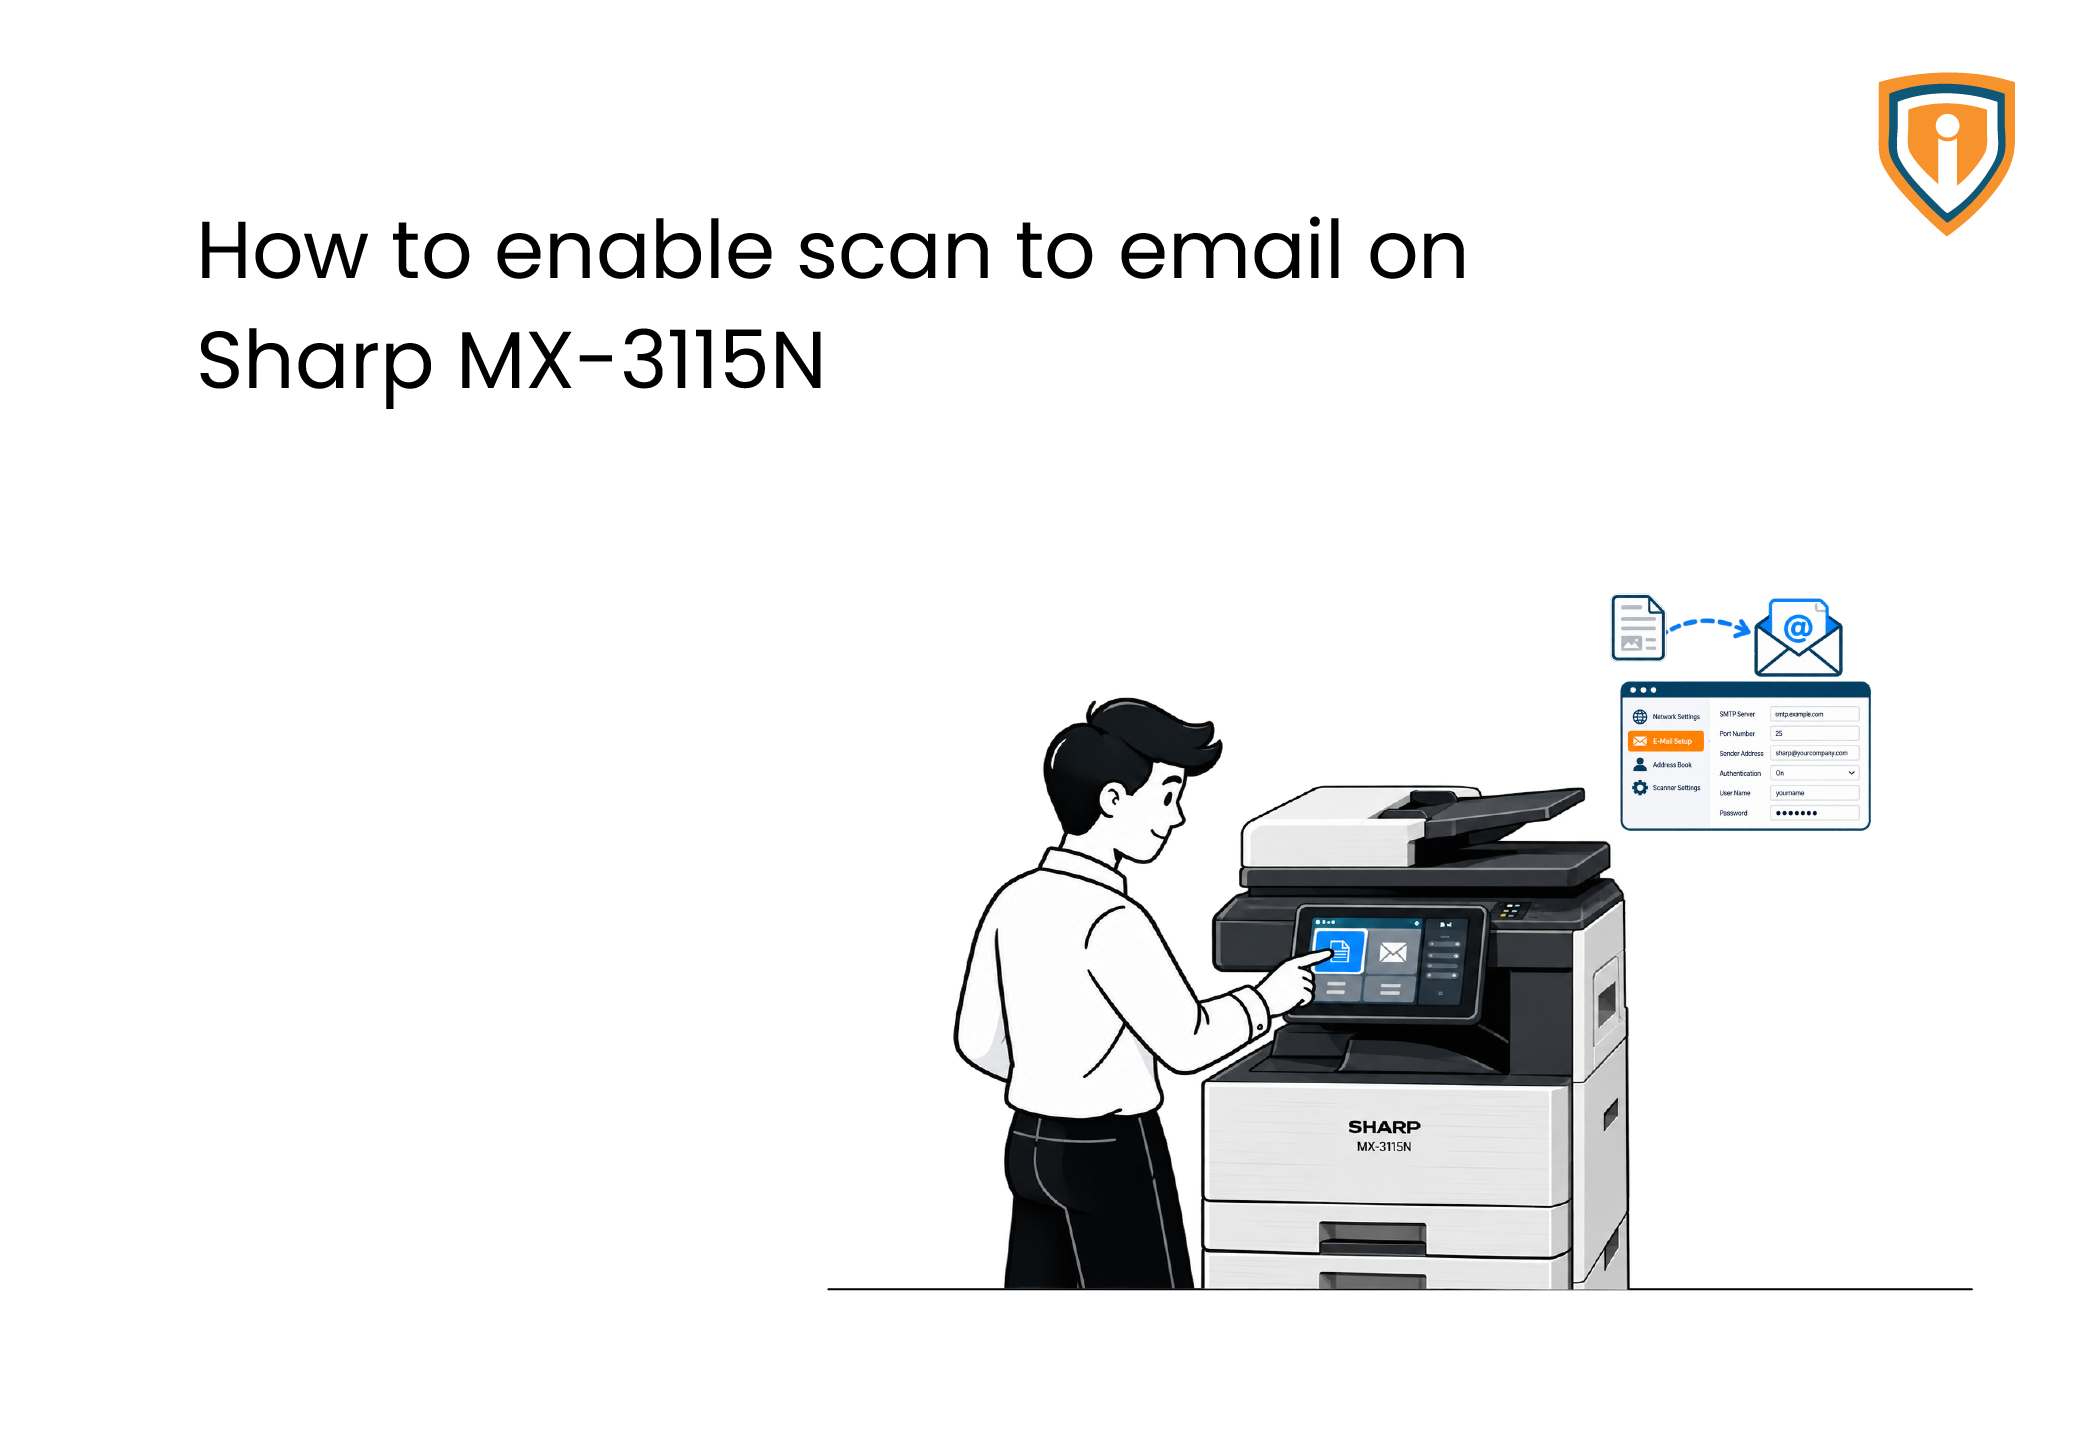
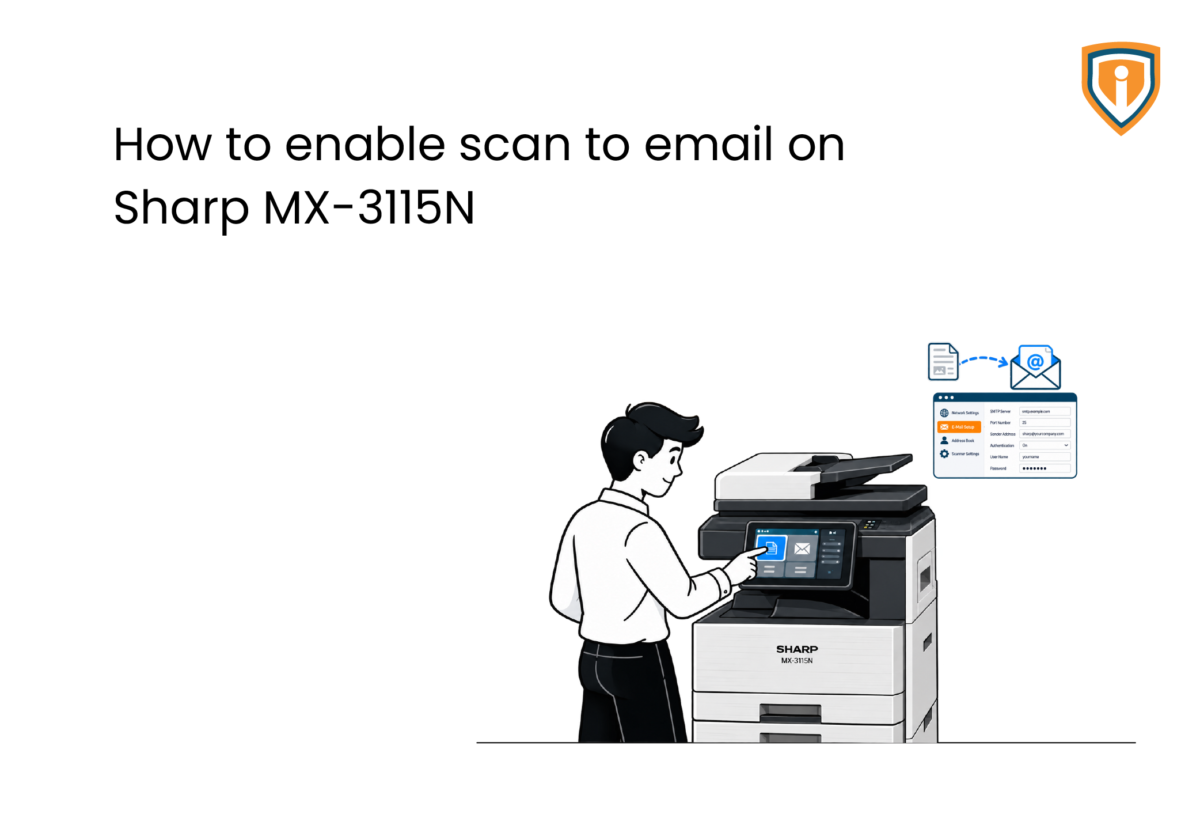
It doesn’t have to work that way. With Scan to Email enabled, the Sharp MX-3115N can send a scanned document straight to an inbox in seconds, straight from the printer’s panel. No saving, no attaching, no detour through a PC.
The catch is that the feature doesn’t work out of the box. The printer needs to be told how to send email, and that’s a one-time setup in its web interface. In this guide, we’ll walk you through exactly how to do it.
What Is Scan to Email?
Scan to Email lets you scan a paper document on your multifunction printer (MFP) and send it as an email attachment, usually a PDF, without involving a computer.
There’s one important thing to understand: the printer can’t send emails on its own. Just like Outlook or Gmail, it needs a mail server to deliver the message. That’s where SMTP (Simple Mail Transfer Protocol) comes in. SMTP is the standard method for sending email, and configuring it on the printer is what “enabling Scan to Email” really means.
Before You Begin
Have these ready so the setup goes smoothly:
- The printer’s IP address
- A computer on the same network as the printer
- The admin login for the printer
- Your mail provider’s SMTP details (server name, port, and whether it requires SSL/TLS)
- The email account credentials the printer will send from, including an app password if your provider requires one
Step 1: Access the Web Interface
- 1. Find the printer’s IP address (you can print a configuration page from the panel or find it in network settings).
- 2. Open the web interface. On a PC in the same network, open a browser and go to: http://[printer IP] (e.g., http://192.168.1.100)
- 3. Click Login in the top right (or “Administrator Login”).
- 4. Enter admin credentials:
- Username: admin
- Password: (default is often empty or admin) — if someone changed, use the custom one.
Step 2: Configure SMTP Server (Email Settings)
You’re telling the printer which mail server to use and how to log in to it.
- 1. Go to System Settings > Image Send Settings > Scan Settings >
- 2. Fill in the SMTP settings:
- SMTP Server Name: g., smtp.gmail.com or your provider
- Port Number: usually 587 (for TLS) or 465 (for SSL)
- Use SSL/TLS: Enable if required by your mail provider
- SMTP Authentication: Enable
- Username/Email Address: g., youraddress@gmail.com
- Password: App password or mail account password (if required)
- 3. Set Reply Email Address (can be the same as the sender email).
- 4. Save settings.
Step 3: Register Email Addresses
Now that the printer can send email, tell it who to send to. Registering recipients in the Address Book means your team can pick a name instead of typing an address on a small panel every time.
- 1. Go to Address Book in the web interface.
- 2. Click Add or Register New User.
- 3. Input:
- Name
- Email address
- You can also assign it to a button for easy panel access.
- Save.
Step 4: Test from the Printer Panel
- 1. Load a document in the document feeder.
- 2. On the printer panel, press Scan > Address Book.
- 3. Select the email you registered.
- 4. Press Start to scan and send.
Important Notes Before You Go Live:
- Gmail: Set up an App Password and allow SMTP access.
- Office 365 or other providers: Make sure SMTP relay or login credentials are allowed.
- No OAuth2 support: The MX-3115N works with basic SMTP authentication only.
Troubleshooting: If the Scan Doesn’t Arrive
If the test fails, check these first:
- Port and encryption mismatch: Use 587 with TLS or 465 with SSL, as your provider expects.
- Login failure: Recheck the username and password, and use an app password if required.
- Typo in the SMTP server name: Even one wrong character breaks the connection.
- Firewall blocking: Make sure outbound SMTP traffic is allowed on your network.
- Provider restrictions: Confirm basic authentication or SMTP relay is allowed, since the MX-3115N doesn’t support OAuth2.
Stop firefighting IT issues.
Infrassist's 24/7 IT helpdesk equipped with certified engineers keep your endpoints, network, and business secure and running
The main thing to watch is your mail provider’s security rules, especially since the MX-3115N supports only basic SMTP authentication. If those rules keep breaking the setup, or you’re managing printers across multiple client sites, having an experienced IT partner makes this far less painful. Infrassist’s 24/7 IT helpdesk team can help you configure, monitor, and maintain all your endpoints and network devices, so your business just keeps working without any IT interruption in your routine operations.