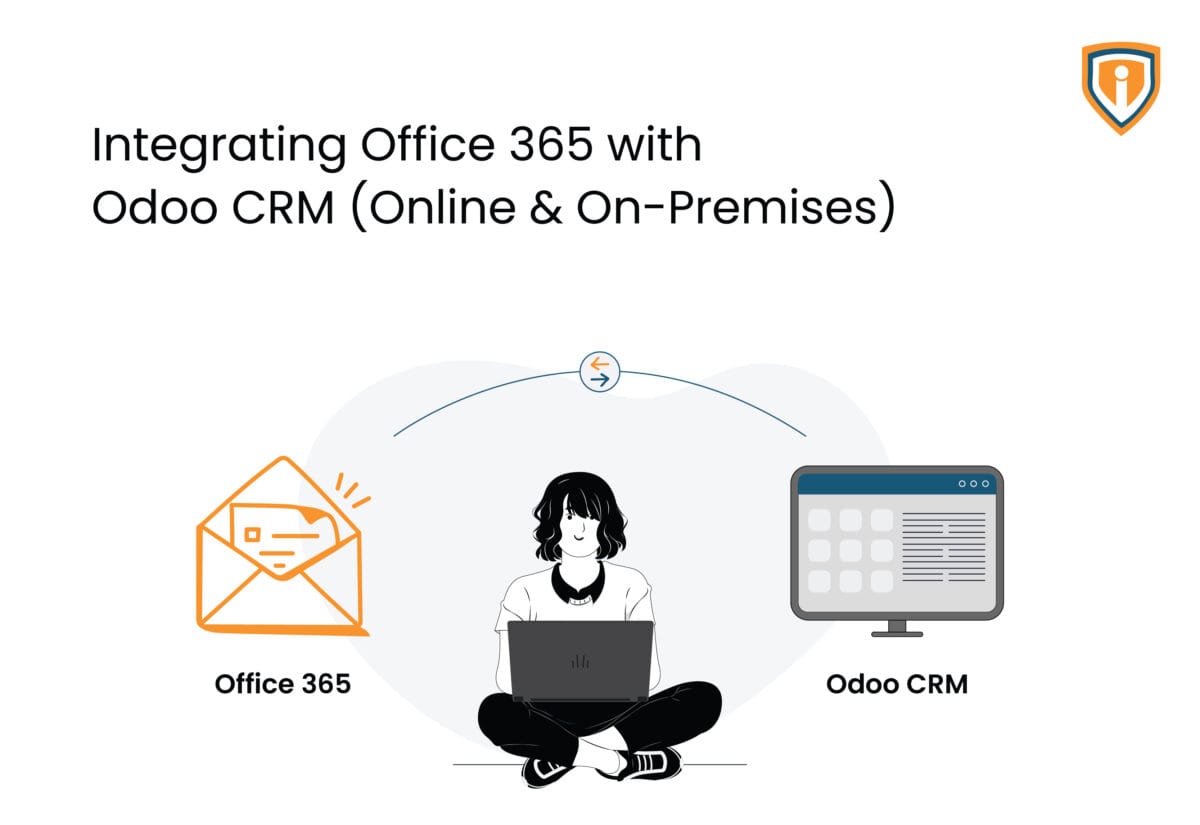
Odoo CRM is a widely adopted business application platform for managing leads, sales pipeline, project management, and day-to-day business functions. And if your organization uses Microsoft Office 365 for business emails, keeping the two well-integrated can go a long way in ensuring smooth and efficient operations.
Out of the box, Odoo handles email through its own mail servers, which means you get limited control over deliverability, sender identity, and email volume. Now, this default setup might be okay for basic use or smaller teams, but as you structure your operations, it falls short, especially when your teams rely on consistent, branded, and trackable communication
Connecting Odoo with Office 365 helps bridge this gap. This integration enables better routing, domain control, a more professional experience for customers, and strengthened collaboration across teams and departments
In this blog, we will walk you through the practical steps and best practices for integrating Odoo (both Online and On-Prem versions) with Microsoft 365 so that you can manage outbound and inbound business communications effectively.
How To Best Practices for Odoo CRM & Office 365 Email Integration
Part 1: Odoo Online CRM + Office 365 Integration
Default Behavior in Odoo Online
When subscribing to Odoo Online, it provisions an instance (e.g., yourcompany.odoo.com) with built-in email capabilities.
However, by default:
- Emails are sent via Odoo’s internal email servers.
- DNS records and delivery controls are managed by Odoo.
- Daily send limits (approx. 200 emails/day) apply when use Odoo’s built-in mail servers.
Why Integrate with Office 365?
Using your Office 365 email domain improves:
- Email deliverability and reputation
- Branding (sender identity personalization)
- Control over SPF, DKIM, and DMARC
- Volume flexibility for large-scale communications (e.g., invoices, quotes, campaigns)
Key Configuration Steps for Integrating Odoo Online CRM & Office 365
1. Create a Dedicated Mailbox in Office 365:
- Create a licensed mailbox (e.g., crm@yourcompany.com) to act as the main SMTP sender.
2. Configure Outbound Mail Server in Odoo:
- Set Office 365 as the outbound SMTP server.
- Apply a from filter (e.g., yourcompany.com) to ensure only company-domain users can send via this server.
3. Handle Replies & Bounces:
- Create distribution groups (e.g., replycrm@…, bouncecrm@…).
- Add Odoo system aliases (e.g., yourcompany.odoo.com) as members for correct routing.
4. Enable ‘Send As’ Permissions:
- Assign ‘Send As’ rights to the dedicated CRM mailbox so it can send emails on behalf of Sales, Marketing, or Accounting team members.
5. Sales Team Email Routing (Leads/Opportunities):
- Configure distribution groups and/or shared mailboxes (e.g., sales@…, partners@…) in Office 365.
- Set up matching aliases in Odoo Sales Teams (e.g., partners@yourcompany.odoo.com).
- Ensure emails to public-facing addresses are captured and converted to CRM leads automatically.
What This Setup Delivers
- Recipients see personalized sender addresses.
- Replies are captured and routed appropriately.
- CRM threads stay organized with full email tracking and follower notifications
Part 2: Odoo On-Premises (Community Edition) + Office 365 Integration
Benefits of On-Premise Deployment
- Greater control over network and infrastructure
- Ability to use Office 365 as a true SMTP relay on port 25
Key Configuration Steps for Integrating Odoo On-Premises (Community Edition) & Office 365
1. Set Up Office 365 as SMTP Relay:
- Use the public IP of your on-prem server for authentication.
- Create an Inbound Connector in Microsoft Exchange Admin Center.
2. Configure Outbound Email Server in Odoo:
- Define SMTP relay settings with from filter set to your company domain.
- Use a central mailbox (e.g., pms@…) for default outbound notifications.
3. Handle Replies & Bounces:
- Use IMAP method for shared mailboxes (e.g., replypms@…, escalations@…).
- Define fetch interval (e.g., every 5 minutes).
- Use actions like ‘Create New Email Thread’ or ‘Append to Existing Thread’.
4. Enable ‘Send As’ Permissions:
- Configure escalations@… (shared mailbox) as an incoming email source.
- Set to auto-create or append Helpdesk tickets.
- Ensure all team members are followers of the Helpdesk team for real-time notifications.
5. Optimize Mail Queues:
- Outbound queue: process emails every 15 minutes.
Modern Authentication with OAuth 2.0
Both online and on-prem instances use OAuth 2.0for modern, secure authentication.
Steps to Enable OAuth 2.0 with Office 365
✅ Register an app in Microsoft Entra ID (Azure AD)
✅ Grant appropriate API permissions:
- IMAP.AccessAsUser.All
- SMTP.Send
- Mail.ReadWrite
✅ Redirect URI for Odoo instance must be correctly configured
Helpful References:
Conclusion
Integrating Odoo CRM with Microsoft 365 isn’t just a backend upgrade it’s a smart operational move that helps you achieve a robust, cleaner, scalable CRM framework. The result? Better sync across departments, no leaks in processes, and a CRM system that supports the way your team works day in day out.
Whether you’re using Odoo Online or managing an On-Premises Community Edition, this integration ensures your emails are sent through a secure, branded, and high-deliverability channel. This small setup gives you full control over sender identity, improves lead response times, structures lead nurturing, and keeps your interactions – outbound or inbound – linked to the right stakeholder, opportunity, or ticket inside Odoo, empowering your Sales, Marketing, and Projects Delivery teams to conduct their routine operations more effectively.